
How to 3D print single and multi-colored backlit surfaces

3D print backlit surfaces
3D printing does not always have to be opaque. There are several applications where a transparent or translucent part is needed and a backlight is used to highlight that part.
Common instances include power switches, face plates, and UI indicators. A power switch needs visual feedback to show the user if it is off or on. This is more important if the switch is in a toggle mode.
Let us discuss how we can create a custom part for backlighting. The backlighting should provide visual relief only in specific locations. What this means is that some parts of the switch need to be transparent or translucent while other parts are opaque.
Materials to use
Depending on the application, one could use PLA, ABS, Polycarbonate(PC), PETG, etc.. All these materials are available as opaque or translucent filaments. In translucent filaments, there is also a choice of clear or colored filaments.
In this experiment, we use PLA. The same method will apply for other materials too.
We could achieve similar results with different methods. We will examine two different approaches here.
The first method uses translucent filament for printing. Applying masks, opaque areas are painted and translucent areas are not.
The second method is to use two different materials. A translucent material for the light window and an opaque material for the mask.
Both approaches have their merits.
Method 1 – Single Translucent Material
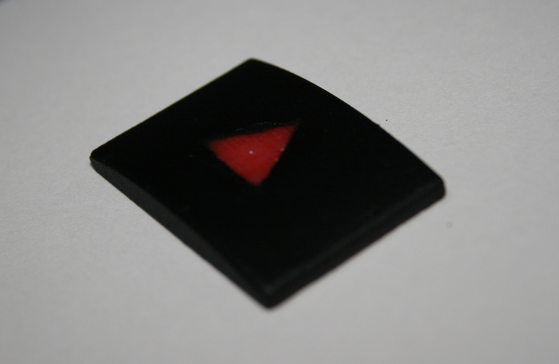
Design your whole fixture including the opaque and translucent areas as one single part. 3D print the switch in a translucent material of choice. After doing this, the whole part will appear translucent and look like this.

We can now paint the part to have a translucent window, in two different ways.
Paint the whole part with an opaque paint color of your choice – maybe black. After painting , laser etch to remove paint only in areas that need to be translucent.
We could also first apply mask(s) on the areas of the part that need to be translucent. Then paint the part and peel off the mask to get the required translucent windows.

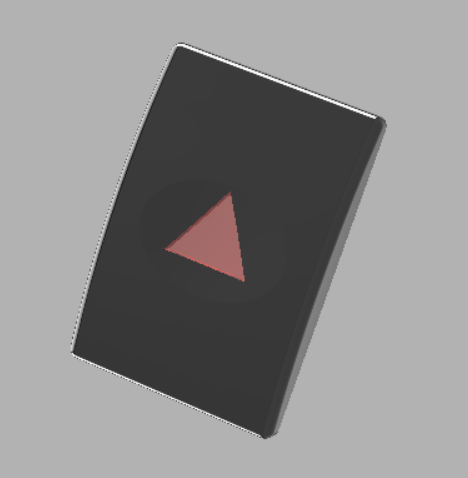
Method 2 – Multiple materials, opaque and translucent
It is possible to use different materials for the opaque area and the translucent area in the part. This method is much more elegant and reduces further process steps. We do not need to resort to masking or painting.
Another advantage of this method is that it is also possible to add light guides into the design. This will help homogenous illumination of the desired area, even when the light source is away from the pattern. We can also illuminate several patterns with a single light source if we use light guides.
The final choice of whether to use painting or multiple materials will depend on the pattern of light. If the pattern is simple, using multiple materials is the way to go. If the pattern is intricate, laser etching provides better detail and resolution.
Choice of Lighting
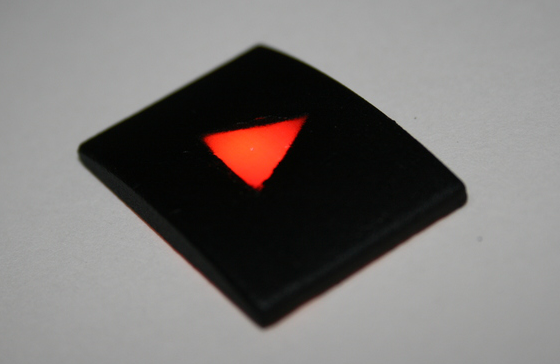
As for the backlighting, a simple LED is the usual light of choice. LEDs are available across the color spectrum and are well suited for the application.
The transparent material chosen for the part can also be colorless in appearance and the LED light can be colored to provide the desired effect. By using multi-colored or RGB LEDs, it is possible to design a panel that can emit several colors.
This gives the designer the option to indicate different states of operational readiness by changing the light color, say orange for warm and red for hot.